How to Re-Enroll Using SchoolMint
A step-by-step guide is available below
Step-By-Step Guide
Step 1
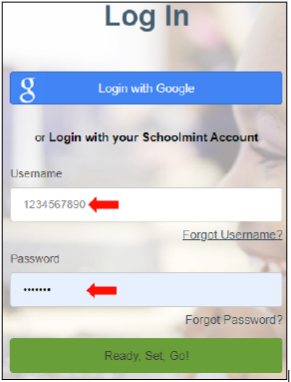
Log into your SchoolMint account with your User ID and Password.
Click Ready, Set, Go.
Step 2

A Welcome page opens.
Step 3
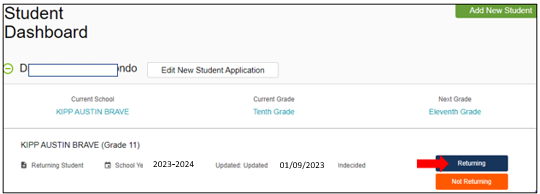
Under the Student Dashboard, click Returning.
Step 4

A Confirmation window opens.
Step 5

Click Yes, Returning. A message reading ‘The student has been successfully updated’ appears.
Step 6

Under the Student Dashboard, click Re-enroll.
Step 7
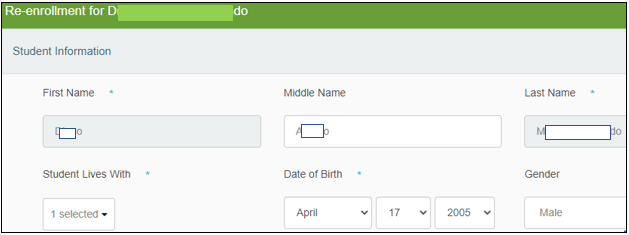
The Student Information Re-enrollment page opens. Verify and complete all required fields on this page.
Step 8
Click Save and Continue.
Step 9
You are returned to the Re-Enrollment page. Click Continue.
Step 10
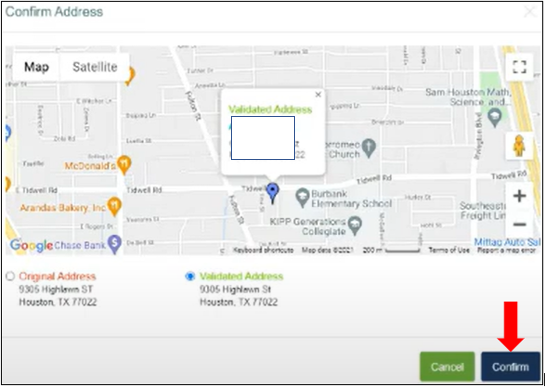
The Confirm Address window opens in Google maps. Click Confirm.
Step 11
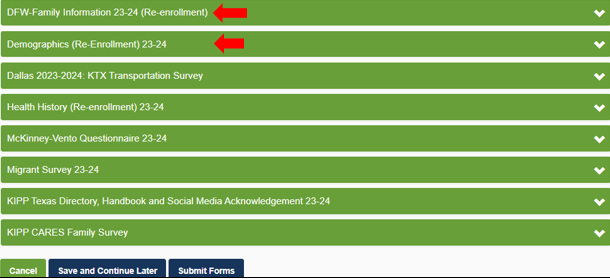
You are returned to the Student Re-enrollment page.
There are several documents, highlighted in green.
Open each green document individually.
Verify and/or complete all required fields in each green document.
At the end of each document, click Save and Continue.
Note: For Family Information 23-24 and Demographics (Re-Enrollment) 23-24, you must upload documents, i.e., Proof-of-Address & Current Parent Identification.
Click on the document.
Review and complete all required fields.
Step 11a

Select the ‘Upload’ button
Step 11b

Select the appropriate document. Click Open.
Step 11c
To validate your upload was successful, scroll to the Upload field again.
If View appears, this is confirmation your document was uploaded successfully. To read the document, click View.
At the end of each section, click Save and Continue.
Step 12
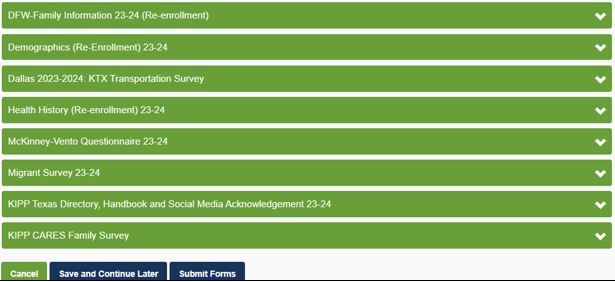
After verifying and completing the required fields in all green documents…
Step 13
Click Submit Forms.
